Step-by-step instructions
Installation
Close Revit. Download the installer from Download LUX and run
the .exe file. The installer places the add-in files and registers them
with Revit.
Start Revit. LUX is available directly, no additional configuration is required.
Sign in
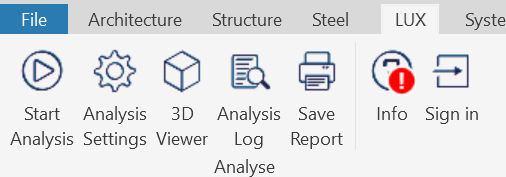
Click Sign In in the LUX ribbon.
Enter your email and click Continue, or sign in with Google or GitHub.
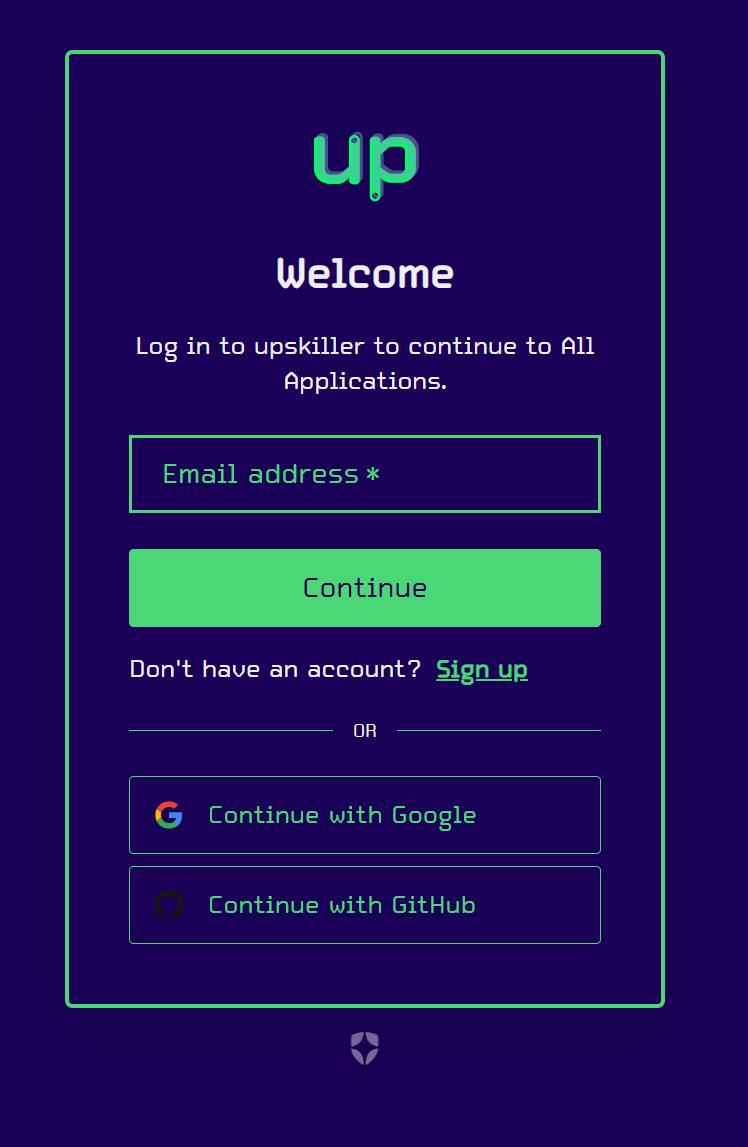
Registration is currently limited to approved email domains. If your domain is not approved, registration fails and an error message appears. Contact support to request access.
Updating
LUX checks for updates on startup. A red warning icon appears on the Info button in the ribbon when a new version is available, as shown above.
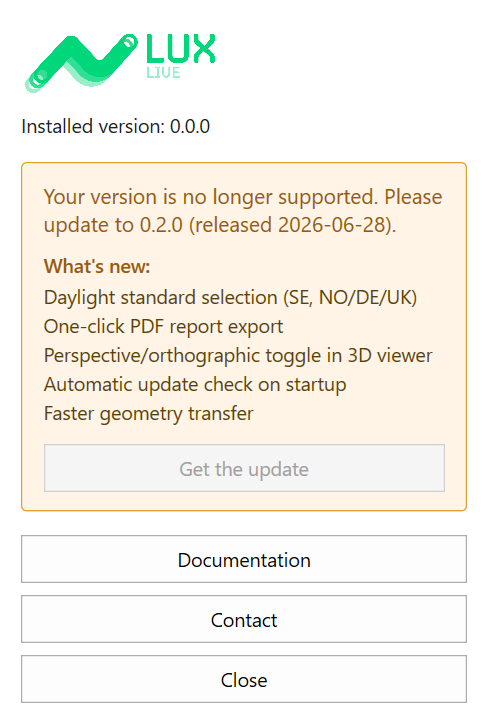
Click Get the update, or download the latest installer from Download LUX. Close Revit and run the installer, it replaces the existing files with the new version.
Uninstalling
Uninstall LUX from Windows Settings, under Apps > Installed apps, like any other program.